The home-keeping guru herself, Martha Stewart, has some tried-and-true suggestions for an organized pantry that can benefit all of us. So today, we’re sharing those with our readers here at 101 Days of Organization. These suggestions for an organized pantry are pretty simple–you just need to make the time to execute them. Once you do, your pantry will be spotless!
Easy Steps For An Organized Pantry
Clean Up
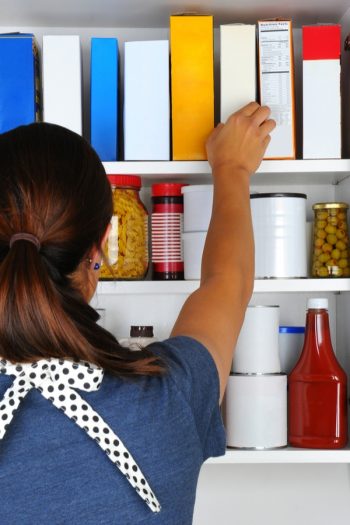
No matter what you want to organize, it’s best to start with a clean slate. So the first step for an organized pantry is to pull everything out–yes, everything–and clean the pantry shelves. Dust them and wipe up any spills, then go through the stuff you removed and toss out expired or useless items. If there are items you won’t use that are still usable by others, make a trip to your local food bank.
Categorize
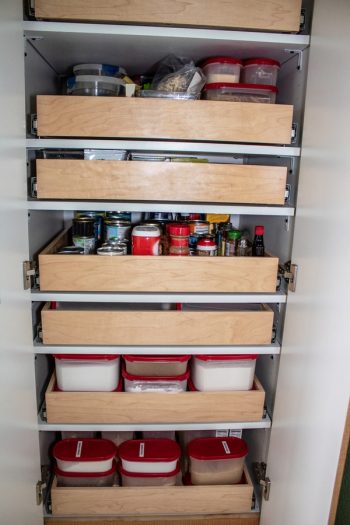
Now it’s time to take stock of what you have remaining. Arrange everything into categories. Some simple suggestions are to organize your food stuffs into snack items, baking goods, canned goods, lunchbox stuff, and dry goods. This step definitely helps you create a more organized pantry!
See-through Storage
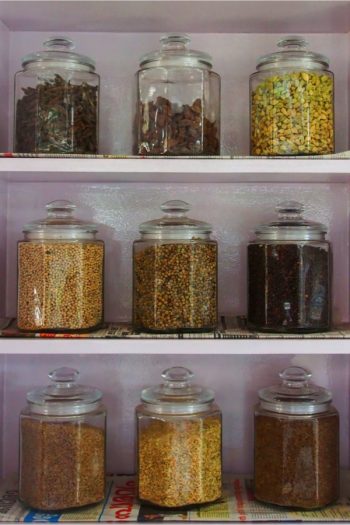
Another suggestion is to take all your categorized goods and store them in a such a way that you can easily see what they are. Glass jars and clear plastic storage boxes work well. Regular baskets and bins are great, but once you toss some stuff into a bin and stick it up high, you may forget what you have. So labeling is very important for items that you store in containers you can’t see through. Stuff that you can see is stuff that gets used and does not go to waste!
Organize By Zone
Decide on zones that work well for your pantry space. For example, all the baking needs go into a baking zone. Stuff for the kids’ lunches go in a lunchbox zone, and snacks have a snack zone. You get the idea!
Follow these Martha Stewart suggestions for an organized pantry, and you will automatically save money by cutting down on food waste!
Leave a Reply